Know Your Basics
Before you ever strike a spark, knowing the fundamentals of fire can mean the difference between success and frustration or even survival and serious risk.
The Survival Triangle: Heat, Fuel, and Oxygen
At the core of every fire is a delicate balance of three essential elements:
Heat The initial spark or flame that ignites your materials.
Fuel Burnable material that sustains the fire, including tinder, kindling, and logs.
Oxygen A necessary component for combustion. Without airflow, your fire will smother, not grow.
Miss one of these, and your fire simply won’t catch or sustain. Good firecraft always starts with maintaining this balance.
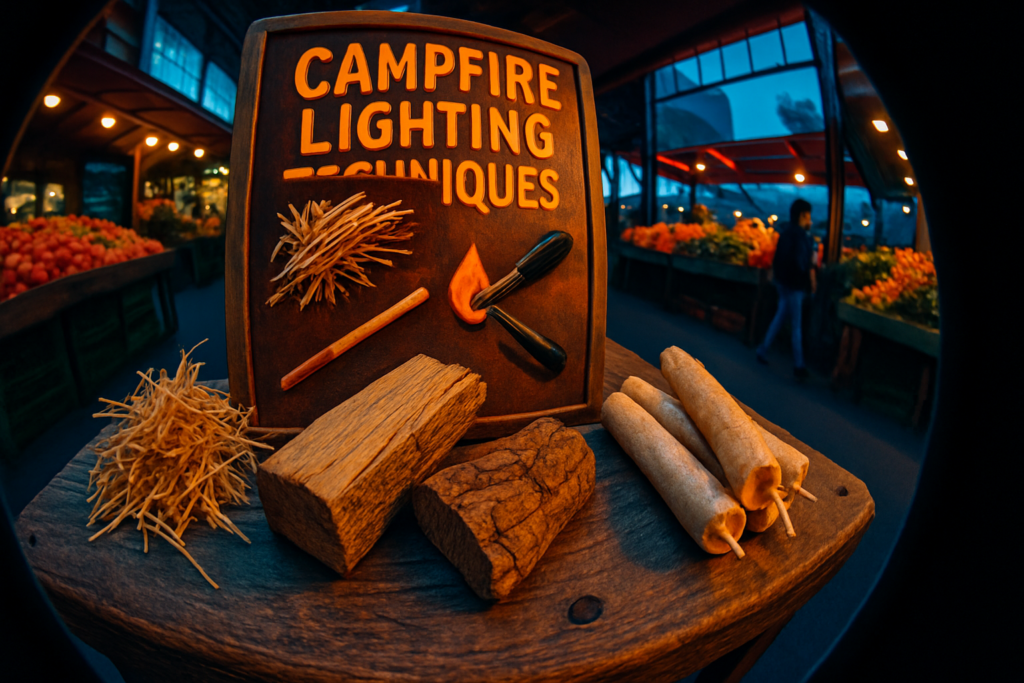
Know Your Fire Materials
A successful fire needs a layered approach with different material types:
Tinder Exceptionally fine, dry material that lights with a spark or weak flame. Examples include:
Dry grasses
Birch bark shavings
Cotton balls coated in petroleum jelly
Kindling Small sticks or twigs (typically finger width) that catch quickly from the tinder and start feeding the fire.
Fuelwood Larger logs or branches that keep the fire burning over time. Use dry, seasoned wood for best results.
Think of your fire as a progression if tinder fails, the rest won’t follow.
The Importance of Site Prep and Fire Safety
Even the best fire starting skills won’t save you if your site is poorly chosen or unprepared:
Clear an Area Remove leaves, grass, and debris to create a safe fire zone at least 3 feet in diameter.
Create a Base Lay down dry bark or stones to elevate your fire when the ground is wet.
Wind Block Choose a location protected from strong winds or build a barrier using rocks or logs.
And above all:
Never walk away from an active fire.
Fully extinguish your fire with water and stir the ashes before leaving.
Strong fundamentals protect you, your gear, and the environment. Every successful fire starts here.
Technique 1: Ferro Rod Mastery
Ferrocerium rods commonly called ferro rods are a go to tool for seasoned survivalists and casual campers alike. Their reliability across weather conditions makes them a critical part of any fire starting kit.
Why It Works in Almost Any Weather
Ferro rods generate sparks at temperatures over 3,000°F, making them capable of igniting tinder in rain, snow, or high humidity. Unlike matches or lighters, they aren’t affected by water exposure or altitude.
Works damp or wet due to high temp spark output
Won’t run out of fluid or fail under pressure
Reliable in wind, rain, or cold climates
Striking Methods: Technique Matters
Success with a ferro rod isn’t just about gear it’s about how you use it. A controlled strike increases spark density and accuracy, which translates to quicker ignition.
Proper Striking Tips:
Use the back of a sturdy knife or a dedicated striker
Anchor the rod to your tinder pile and pull the striker toward you to direct sparks downward
Angle your strike for maximal spark contact with the tinder
Common Mistake: Erratic striking scatters sparks and wastes energy. Consistency is key.
Choose Quality Gear
Not all ferro rods are created equal. Cheap options often wear out quickly or fail to spark reliably.
Look for:
Rods with thick, durable construction (at least 5/16″ diameter)
High magnesium content for hotter, longer sparks
Comfortable grip for safer handling
Avoid:
Rods that come in bargain multi tools or emergency kits with no brand reputation
Tiny striking surfaces or flimsy handles that break under pressure
For dependable fire starting in all seasons, a quality ferro rod is non negotiable. It might take practice, but it’s one of the most versatile tools you can carry.
Technique 2: Traditional Flint and Steel
This one’s for the purists. Flint and steel won’t win any speed contests, but it’s reliable and doesn’t rely on fuel, batteries, or gimmicks. That makes it perfect for long term survival kits or minimalist pack outs where simplicity and function matter more than flash.
To make it work, you need solid technique and the right supplies starting with good char cloth. Not all fabrics do the job; 100% cotton, burned just right, is key. Your strike has to be sharp and purposeful. Angle the steel just enough to shave sparks off the flint, and aim them precisely at your char. One or two decent sparks should do the job if everything’s prepped right.
Plenty of people write this method off as outdated. That’s a mistake. Not only does it teach strong fire fundamentals, but it builds patience, precision, and respect for skill based survival. In tight spots, confidence matters and flint and steel force you to earn it.
Technique 3: Bow Drill Method

Mastering the bow drill is a rite of passage for many survivalists. While it’s not the fastest or easiest fire starting method, it teaches essential skills in patience, technique, and resourcefulness. When done correctly, it’s a completely self reliant way to create fire using only friction.
Why Use a Bow Drill?
Bow drills shine in real survival situations where modern gear may be lost or unavailable. The method uses basic materials that can often be found in nature, making it a go to technique when you’re relying solely on your surroundings.
Benefits:
Requires no modern tools once the technique is mastered
Strengthens understanding of fire dynamics
Can be practiced with fully natural materials
Choosing the Right Woods
Your success with a bow drill often comes down to your choice of materials. Not all woods are created equal when it comes to friction fires.
Best wood combinations for bow drills:
Spindle (Top Stick): Willow, Cedar, Cottonwood, or Yucca
Fireboard (Bottom Board): Cedar, Basswood, or Sycamore
Woods to avoid:
Hardwoods like Oak and Maple they generate too much resistance without enough dust
Resin heavy woods like Pine they’re flammable but inefficient for bow drill use
Matching a softwood spindle with a similarly soft fireboard gives you the best chance of producing a coal.
Build Muscle Memory and Patience
Success with a bow drill isn’t about brute strength it’s about rhythm and consistency. Your body needs to learn the subtle balance between downward pressure and speed. This takes time and repetition.
Tips for faster progress:
Practice each movement before attempting to produce a coal
Use a properly constructed bow and bearing block to reduce effort
Save your first coals and turn them into kindling to understand the ignition process
Final Advice
Unless you practice regularly, the bow drill will fail you when you need it most. But with the right materials, technique, and mindset, it remains one of the most rewarding and self sufficient fire starting techniques available.
A bow drill tests your skills but it also builds them.
Technique 4: Modern Fire Starters
When conditions get rough, modern tools can save time and energy. A basic lighter is still your best friend small, cheap, and reliable in most situations. Just make sure it works when wet; not all do. Avoid junk lighters with sketchy seals or questionable flint wheels.
Stormproof matches are built for chaos. They’ll burn in high wind and rain, even after a dunk in a puddle. Toss a few in a waterproof container and forget about them until you need them. Fire cubes compressed fuel blocks can light damp wood and burn hot for several minutes. Not glamorous, but they get the job done.
These tools are ideal as backups in your bug out bag. They’re quick, low effort options when you don’t have time for friction fire or finesse. But there’s a trade off. Many of these are chemical based, meaning they emit fumes, can be volatile in heat, and don’t always store well over years.
Bottom line: bring a mix. Know your primitive methods, but don’t snub the tools that keep you alive when your hands are numb and the rain won’t quit.
Reliable Tinder Sources
Not all tinder is created equal. The smartest fire starters carry a mix of natural and man made options and they know how to use both.
Natural Tinder
If you’re foraging, look for birch bark first. It lights even when damp and peels easily into fine curls. Fatwood is next level: it’s pine heartwood packed with resin, known to ignite quickly and burn hot. Dry leaves will do in a pinch, but you’ll need more of them and some luck with the weather.
Man Made Tinder
Home packed tinder covers your bases when nature doesn’t cooperate. Dryer lint is lightweight and surprisingly flammable. Cotton balls soaked in petroleum jelly? Fire starting gold. They’re compact, burn long, and hold up in wet conditions.
What to Pack vs. What to Forage
Pack man made tinder in your kit. It’s reliable, consistent, and works when you’re cold, wet, or in a hurry. Foraging is a solid backup but it takes time, and damp terrain will fight you every step of the way. Smart prepping means you bring what works and know how to supplement when you have to.
Whether it’s from your backyard or a forest trail, the key is testing your tinder before it counts. Get familiar with what lights fast, what fizzles, and what needs encouragement.
What to Practice Before You Actually Need It
The time to figure out how to make fire in a storm isn’t when your fingers are numb and everything around you is soaked. Learning to start a fire in wind, rain, or snow takes practice and the right mindset. Think layers of preparation: sheltered fire site, dry tinder stash wrapped in plastic, and elevation off soggy ground. Block wind with your body or rocks, and keep the flame low and protected.
Don’t just master one method. Practice with a ferro rod, try a bow drill, use modern cubes, even light wet wood with just a match (it’s possible with fatwood). Confidence comes from reps. If you’ve sparked a flame in muddy conditions during practice, you won’t panic when the stakes are real.
Flame management matters more than just ignition. Keeping it alive takes smart feeding and airflow control. Don’t dump all your kindling on at once. Let the fire breathe. Learn how to nurse a small flame into a sustainable heat source you don’t need a bonfire, just enough to cook, warm, or signal.
For step by step visuals and gear recommendations, check our full fire starting guide.
Mistakes That Kill Your Fire (and Your Chances)
The biggest fire starting failures aren’t about gear. They’re about mindset and preparation. Skipping fire prep is the fastest way to fail. If you don’t clear your burn area, dry out your starter materials, and stack your fuel right, you’ll burn through matches and patience alike with nothing to show.
Over relying on one method is next. Ferro rods, lighters, fatwood each has strengths, but none are foolproof. Bring backups. More importantly, train with them. Don’t just toss a tool in your pack and hope muscle memory shows up later.
Finally, ignoring time, weather, and terrain is asking for failure. Wet ground, gusting wind, or rushing darkness can kill your chances before you even strike a spark. Always assess your situation first. Create shelter if needed. Dry your setup. Work with the environment, not against it.
Be ready before you need to be. For more techniques, check the full fire starting guide.